URL shortening is a simple way by which a URL (Uniform Resource Locator) is made significantly shorter in length by still directing to the same location on the web. This technique was popularized by Twitter, which has a 160 character limit on post (or tweets), making it impossible to share long URLs, especially the ones which point to blog posts, which are identified by slugs. Soon after Twitter took the internet by storm (thanks to Barack Obama’s mention in a speech), many others came up with their own versions of URL shorteners like Youtube (youtu.be), YCombinator’s Hacker News (hackerne.ws), Quora (qr.ae) and Google (goo.gl), although goo.gl can be used by the public to generate their own links.
In such a situation, you might feel that there is a need for you to get one for your site too. This post will help you set up a URL shortener for your WordPress website. A custom short URL serves as an identity for your site, is good for branding and your fans would easily be able to identify you through it! Here are the steps that you need to do to get your own URL shortener up and running!
Using the inbuilt WordPress URL patterns:
One obvious way of making the URLs short is to use the default URL patterns of WordPress. Your URLs would appear of the form www.mysite.com/?p=1. However, this is not an SEO friendly way of going about shortening your URL, especially when you know that the Google Bot gives preference to words in the URL. If you try to make it SEO friendly, the URL turns out to be something like www.mysite.com/2013/11/a-blog-post-with-a-long-title. The solution here is to get a new shortened version of your domain!
Buy your URL shortener domain:
This stage is important because the domain that you purchase would serve as your site’s identity. You could simply go to a domain registrar website like GoDaddy or Namecheap, but that might not be sufficient as these sites can only be used to search for domain names and not suggest new ones. For services which suggest domains based on a primary word that you are looking for, you could visit domai.nr. Make sure you keep your domain name small, but still meaningful at the same time.
Register your domain on bit.ly:
If you know some scripting language (PHP, Python/Django, Ruby on Rails), you can purchase a small hosting provider and set up a URL shortening service yourself by writing a some code. This program would create shortened URLs and forward them to your actual site. However, if you are not a programmer, there are services which are already set up for this purpose, the most popular of which is bit.ly!
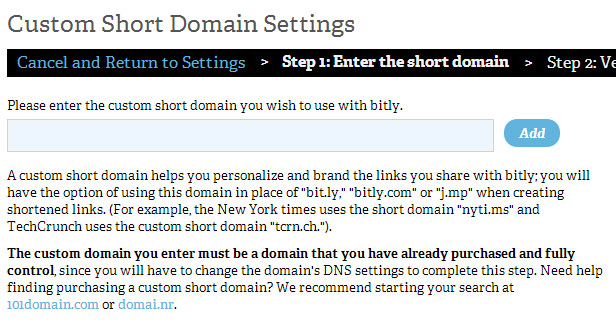
To do so, create an account on Bit.ly and then login to your account and click on the ‘Advanced’ tab of the ‘Settings’ page. Select ‘Personal’ under ‘Custom Short Domain’. Add the newly purchased domain and click on ‘Add’.
Set up your domain to point to Bit.ly:
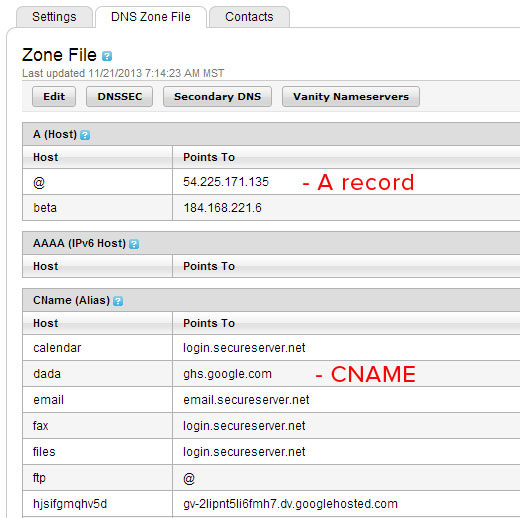
When you register your domain on bit.ly, you would find instructions on this process of making your domain point to bit.ly on the right panel. You need to open your DNS Zone file and edit it. Most registrars provide a web interface to edit the Zone file.
If you are using a domain, you need to set your DNS A record to point to bit.ly’s IP address, 69.58.188.49. You generally find the A record at the top of the zone file.
If you are using a sub domain, you need to add a CNAME record to the same file, which points to cname.bitly.com.
This process of verification takes a maximum of 48 hours, but if you are lucky, happens within an hour. You should then set up your custom domain as the default in bit.ly. Once the verification is done, any URL that you shorten using Bit.ly would originate through your custom domain.
After the change, you can generate URLs through the Bitly WordPress plugin, which replaces Bit.ly shared links with Bit.ly URLs. Alternately, you can use the website of Bit.ly to generate URLs too. As such, yourdomain.com/xyz would point towards bit.ly/xyz, which in turn points to your blog post.
We hope that this post helped you in setting up a custom short domain for your site. We understand that this process is not really straight forward, so feel free to comment below if you ran into any issues.